Search

Cooking Across 4 Generations

Using recipes collected from 4 generations of one family

Month

September 2015

Chocolate Spiders – Recipe Time

When we were in our teenage years, one of the treats Mum used to make around Christmas for parties was chocolate spiders. So tasty, but eat too many and you were soon feeling a bit squeamish.

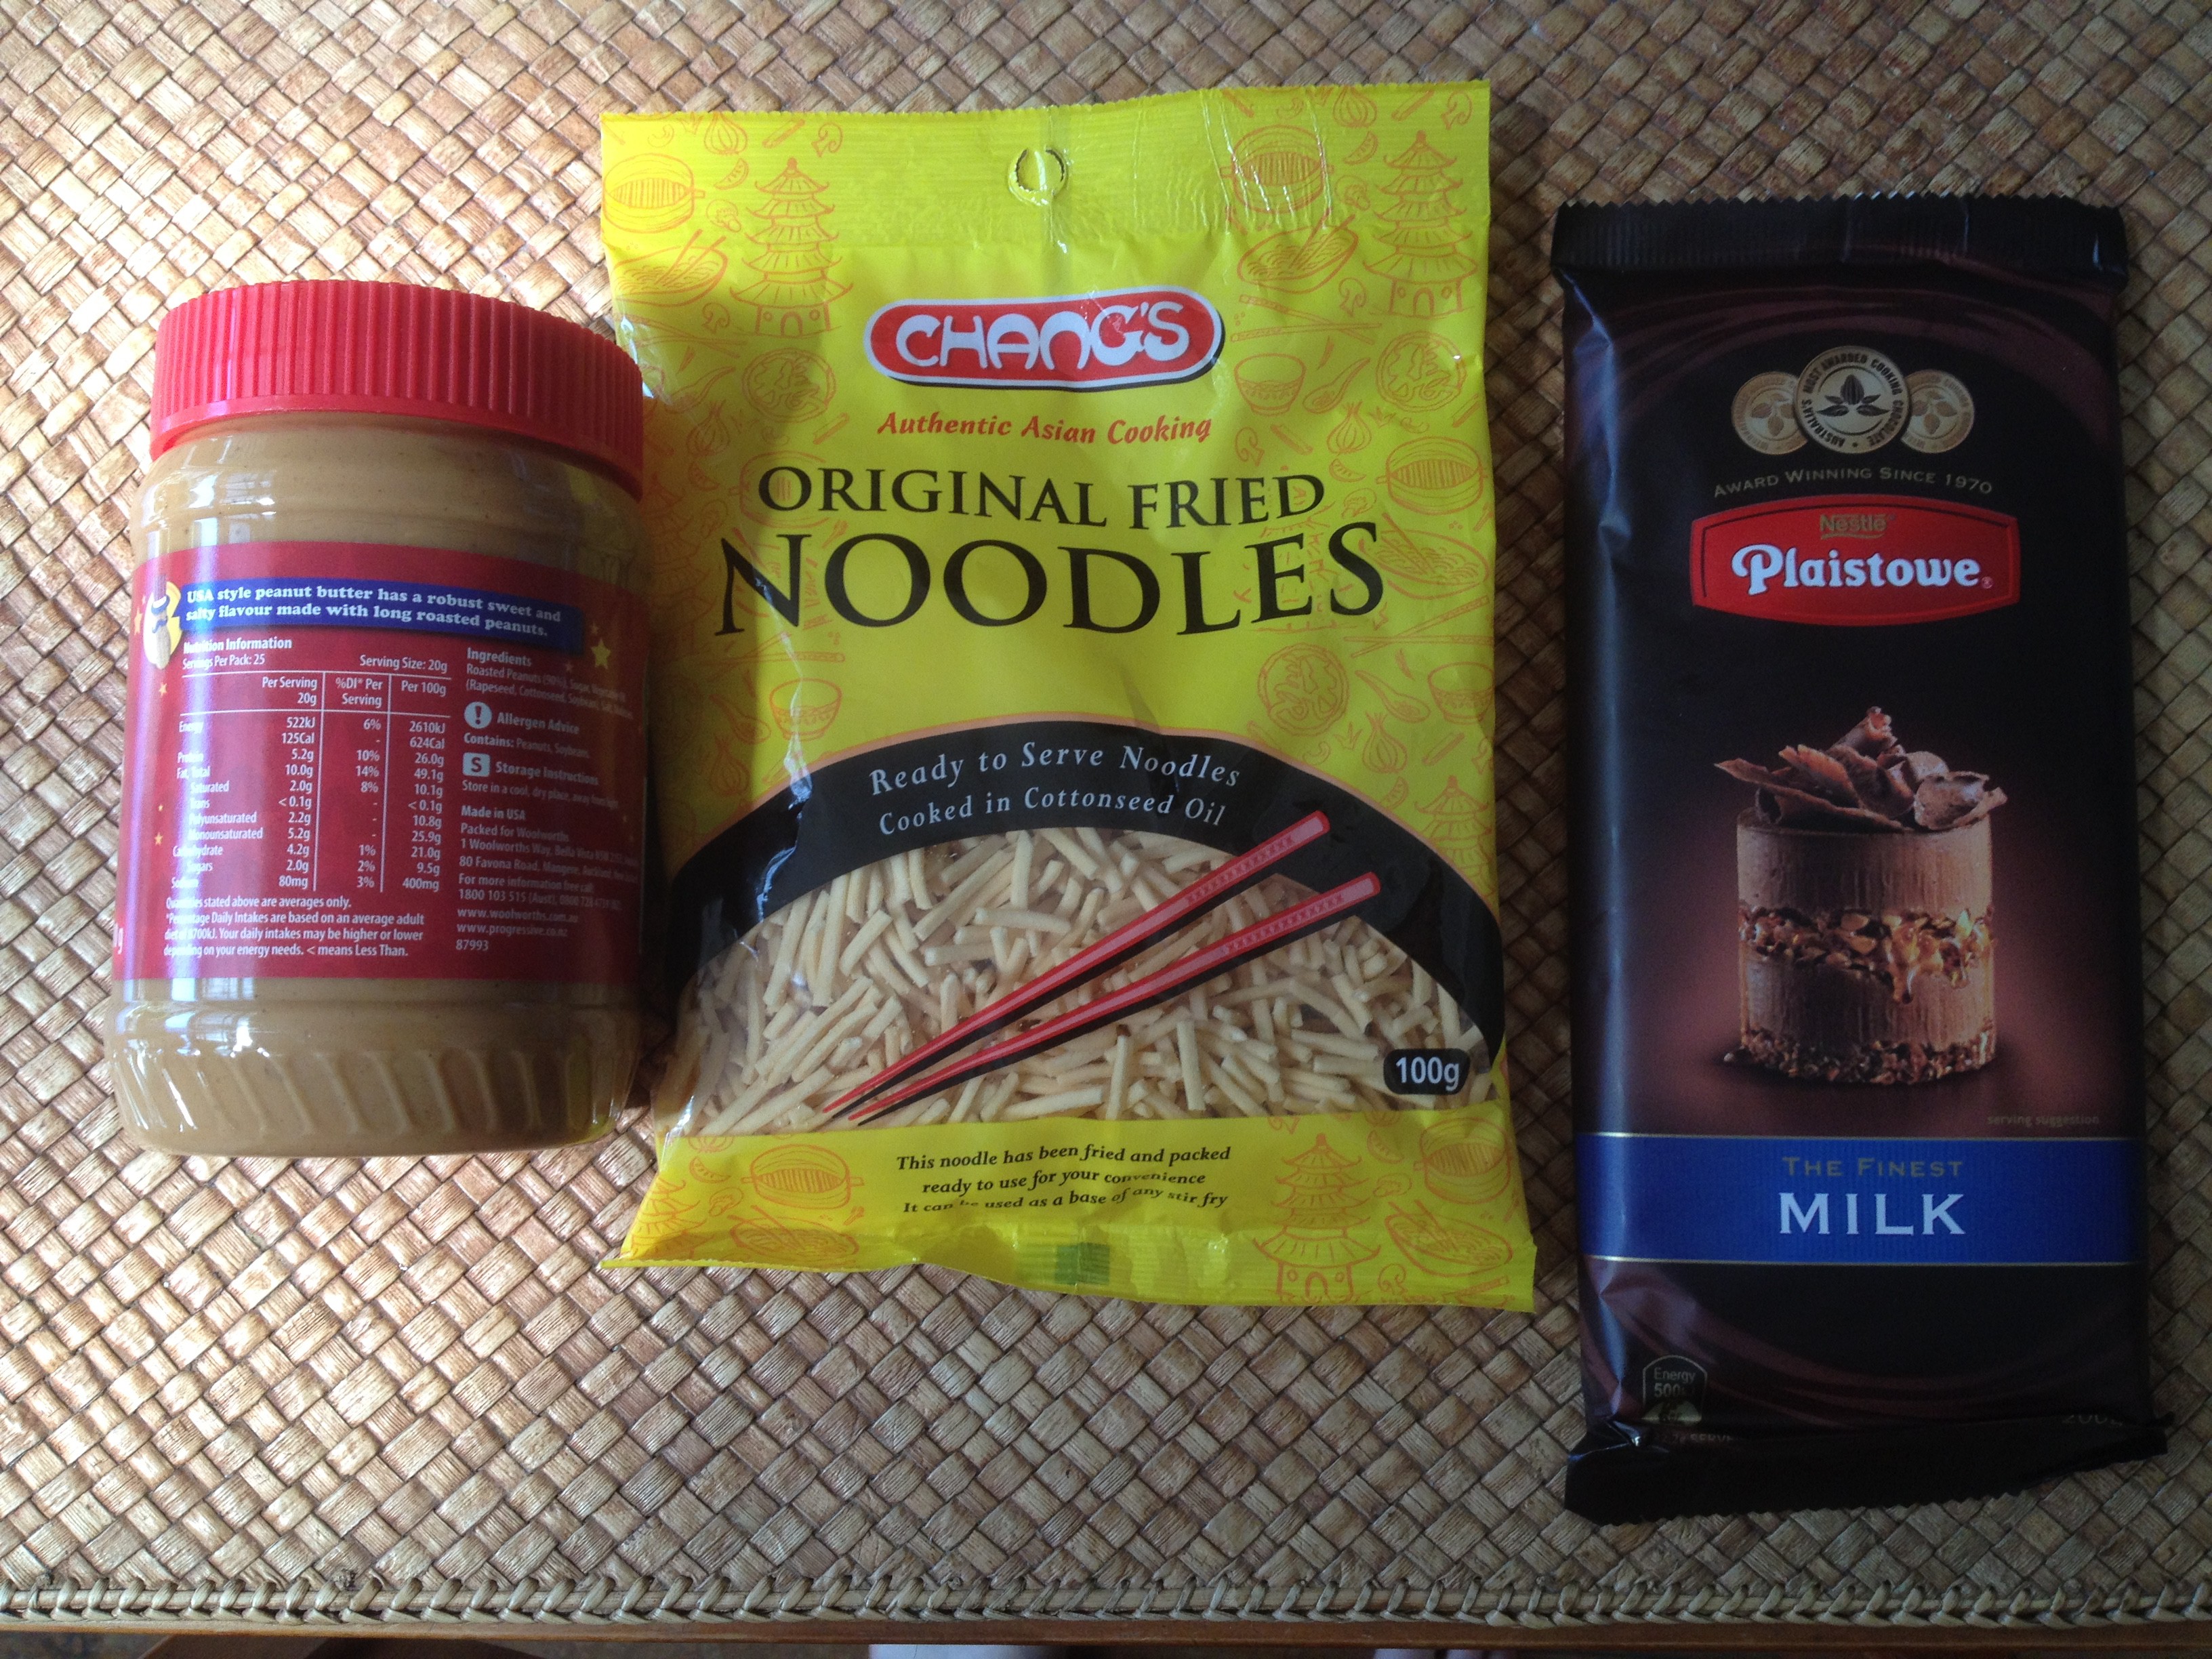
The other day while shopping I had a craving for some, I had a general idea on what was needed, peanut butter, chocolate and Chang’s noodle. I was about to ring Mum and get the recipe until I looked on the back of the noodle packet and there it was.

Only three ingredients needed and a short amount of time.

Peanut butter, noodles and chocolate

While making these I thought of another peanut butter and chocolate sweet that I like, Reese’s Peanut Butter Cups. All you would need to make your own version is the little paper cups, smooth peanut butter and leave out the noodles, SIMPLES!!

All measurements are metric and use Australian Standards sizing for spoons and cup measures.

The ingredients as found on the packet:

1 packet Chang’s Original Fried Noodles

200 grams Chocolate, milk OR dark ( I used milk)

2 Tablespoons crunchy peanut butter

MY METHOD:

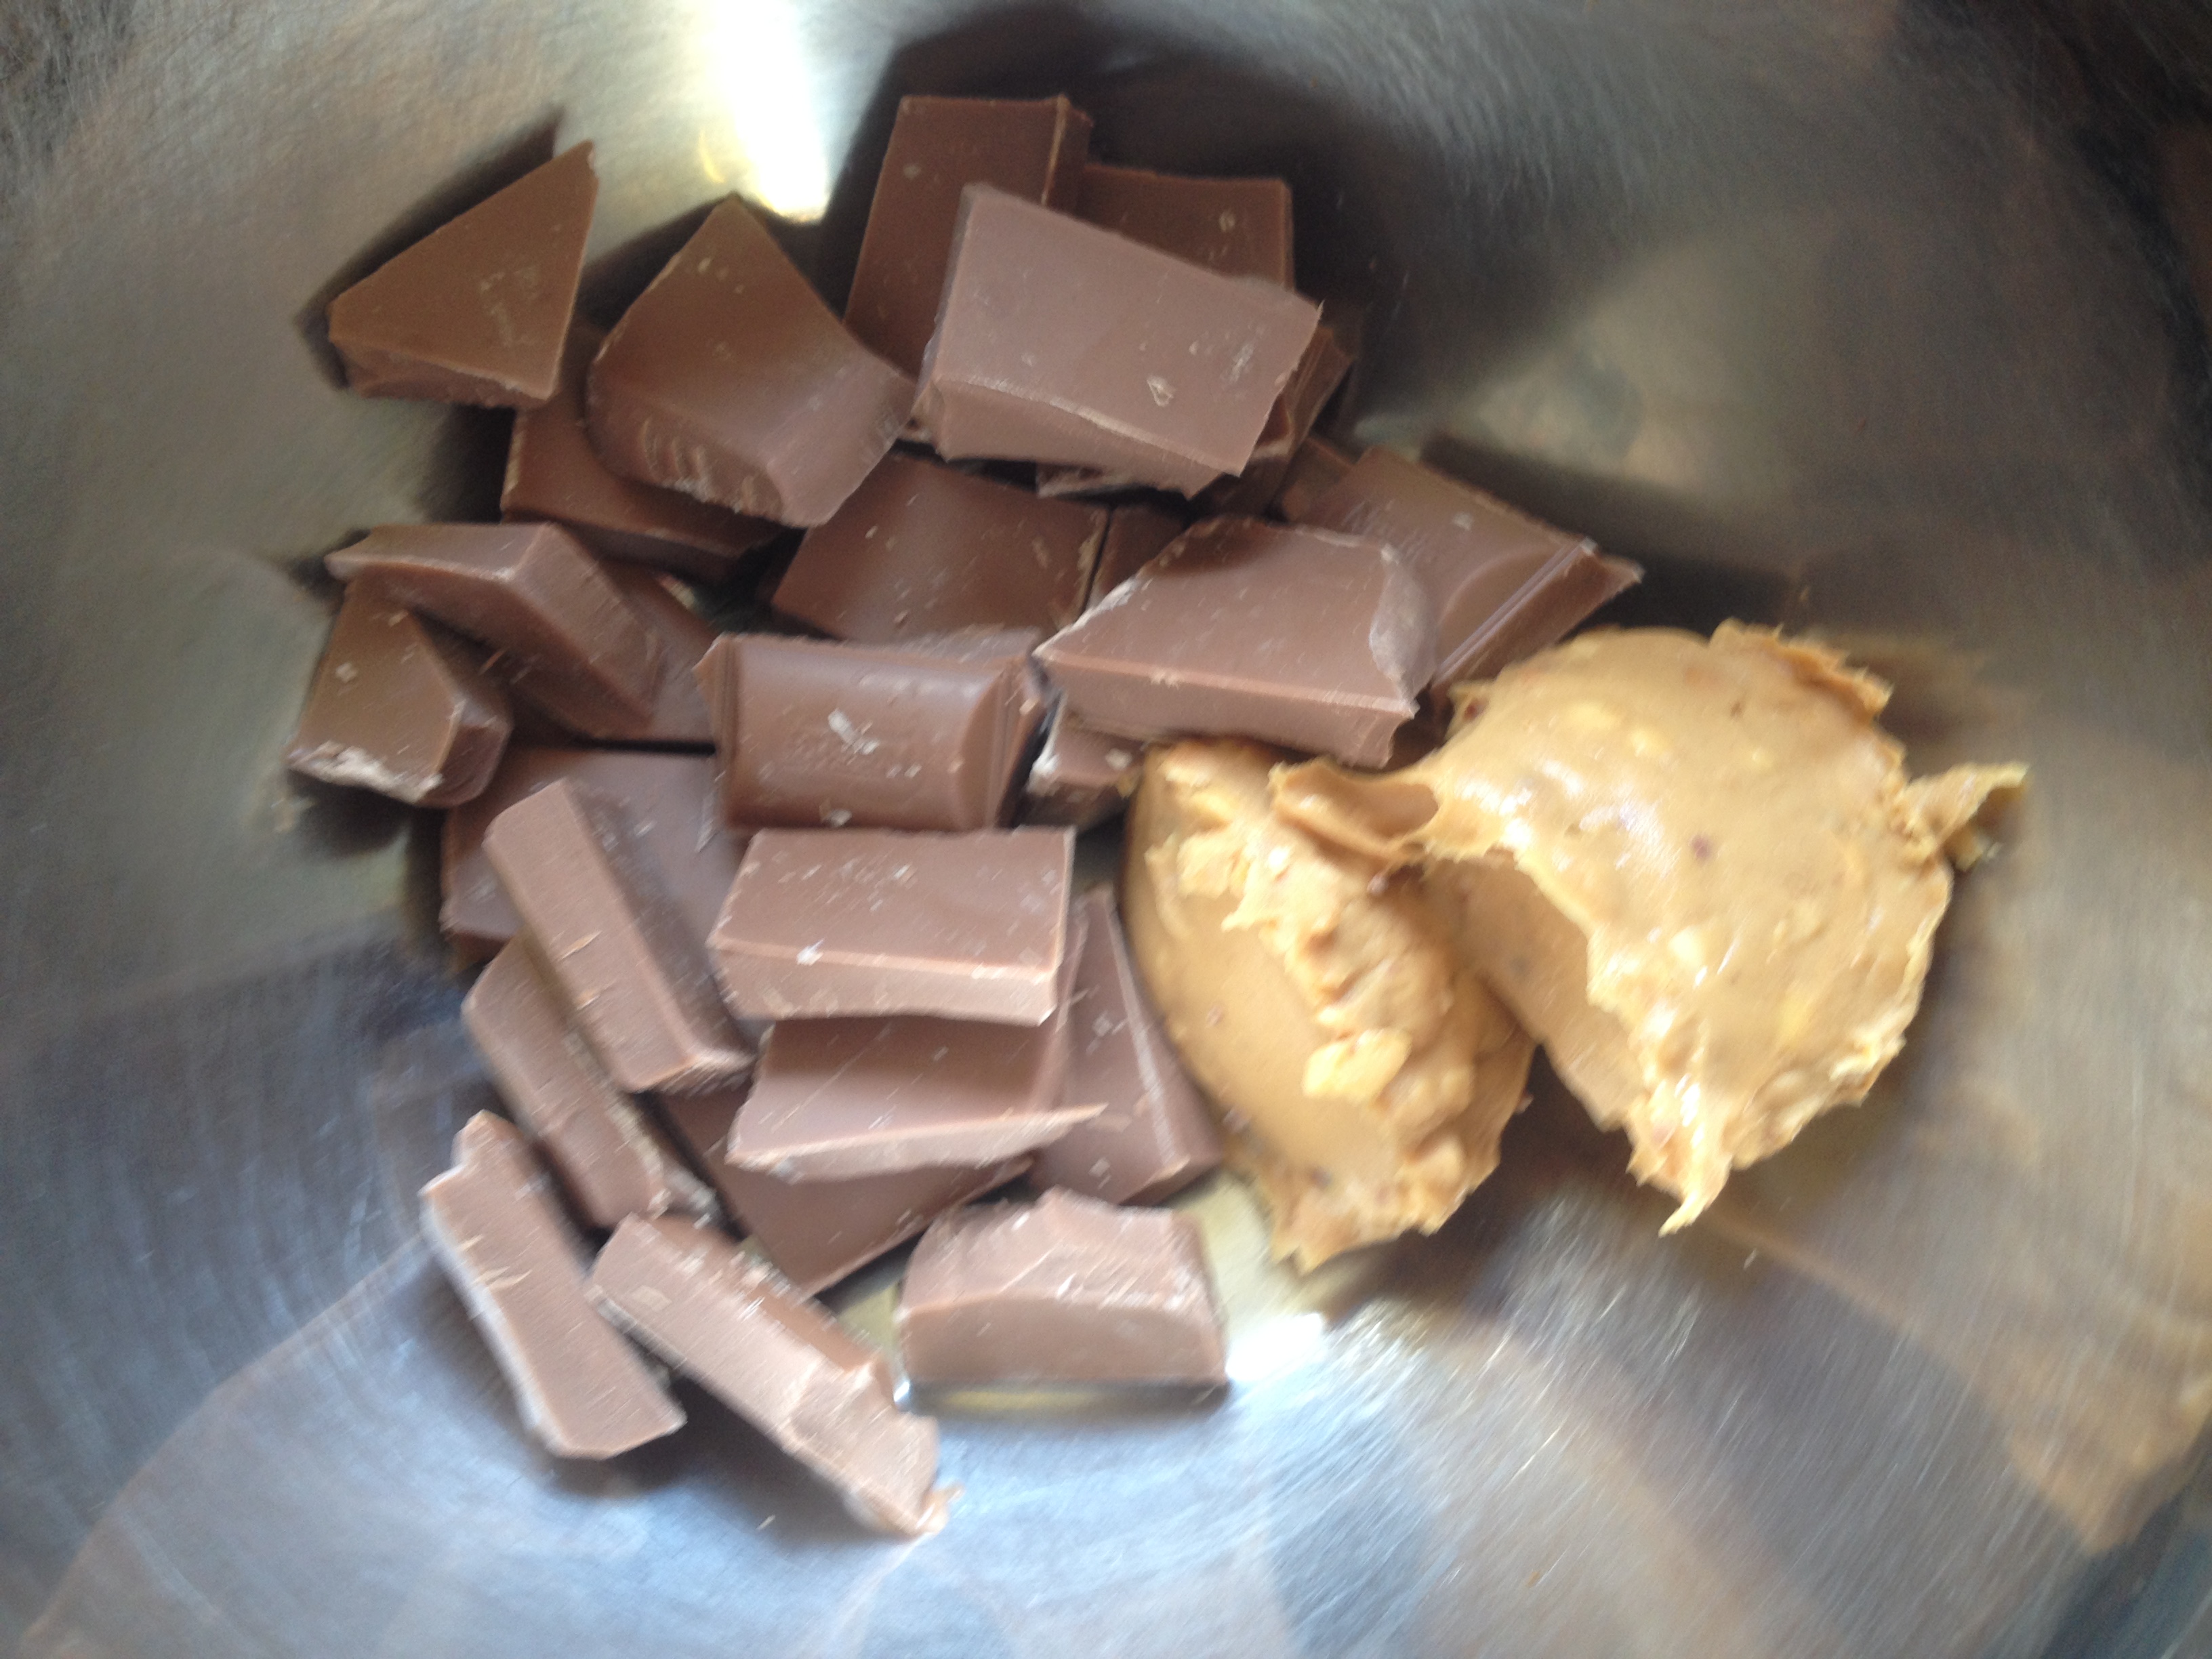
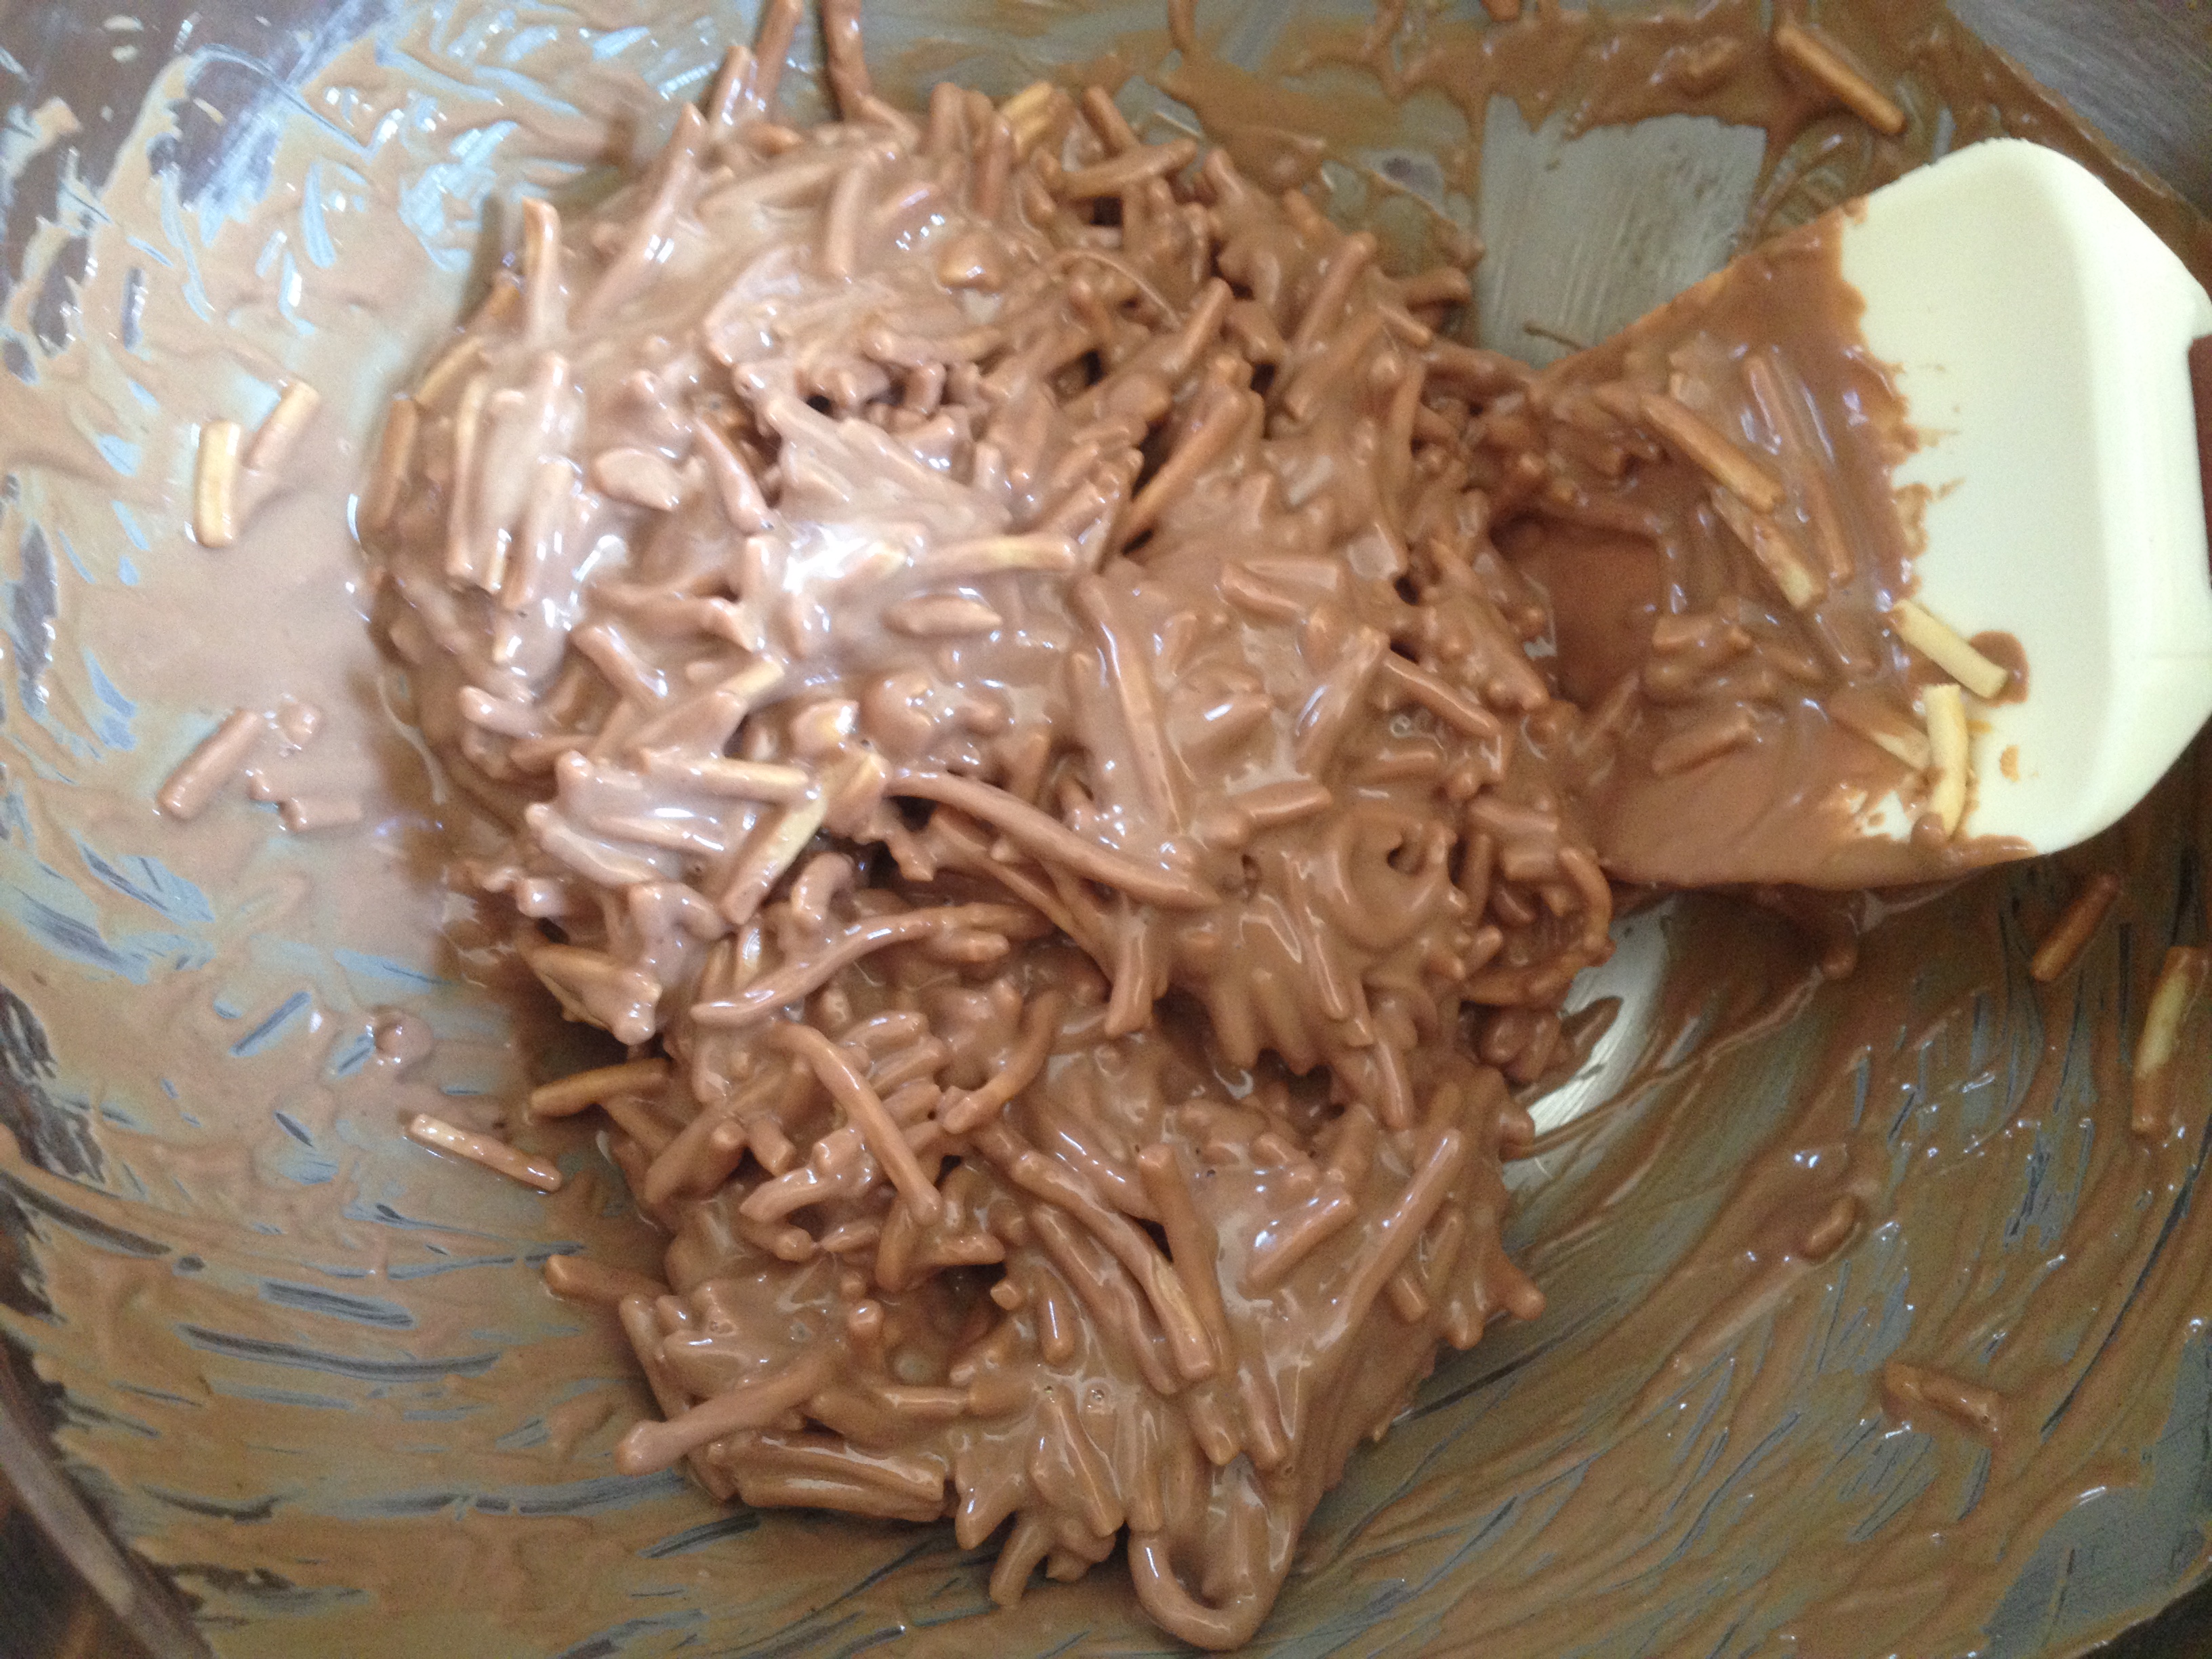
Place peanut butter and chocolate in a clean dry bowl. Remember chocolate hates moisture, so ensure none gets in the bowl while you are melting it.

Ready to melt
Ready to melt

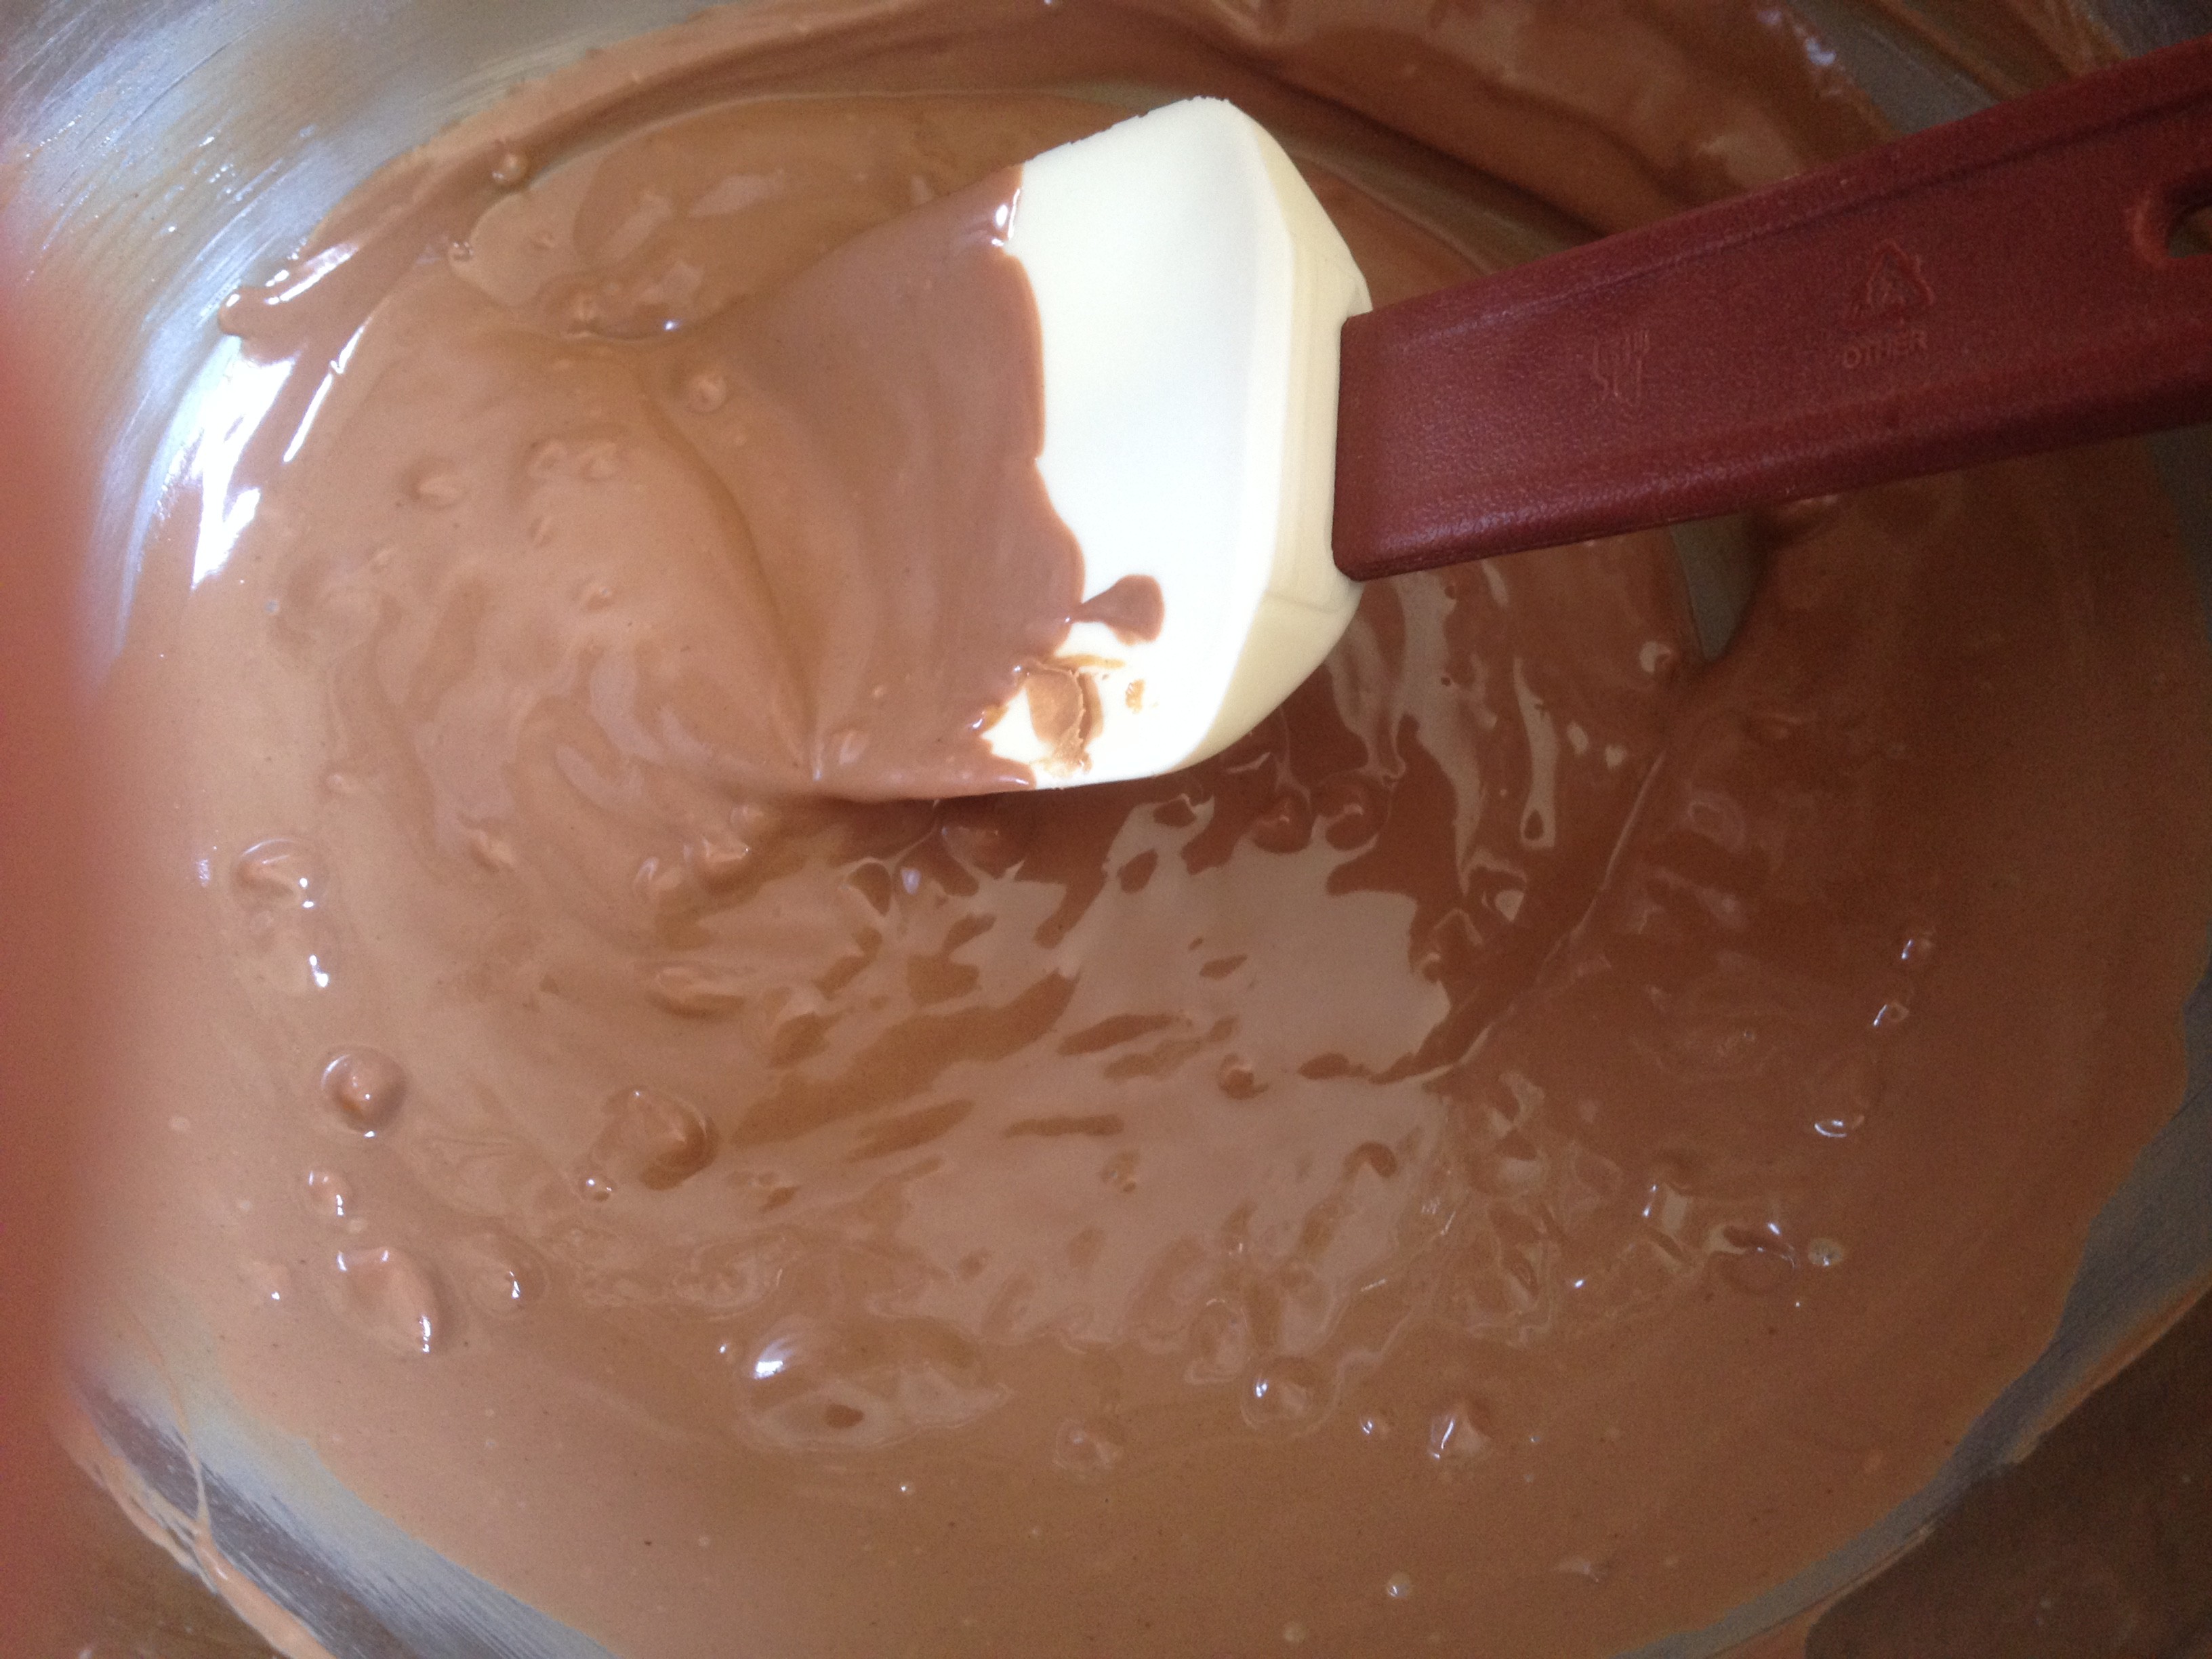
Place the bowl over a pot of simmering water and melt, stirring occasionally to combine.

All melted and mixed

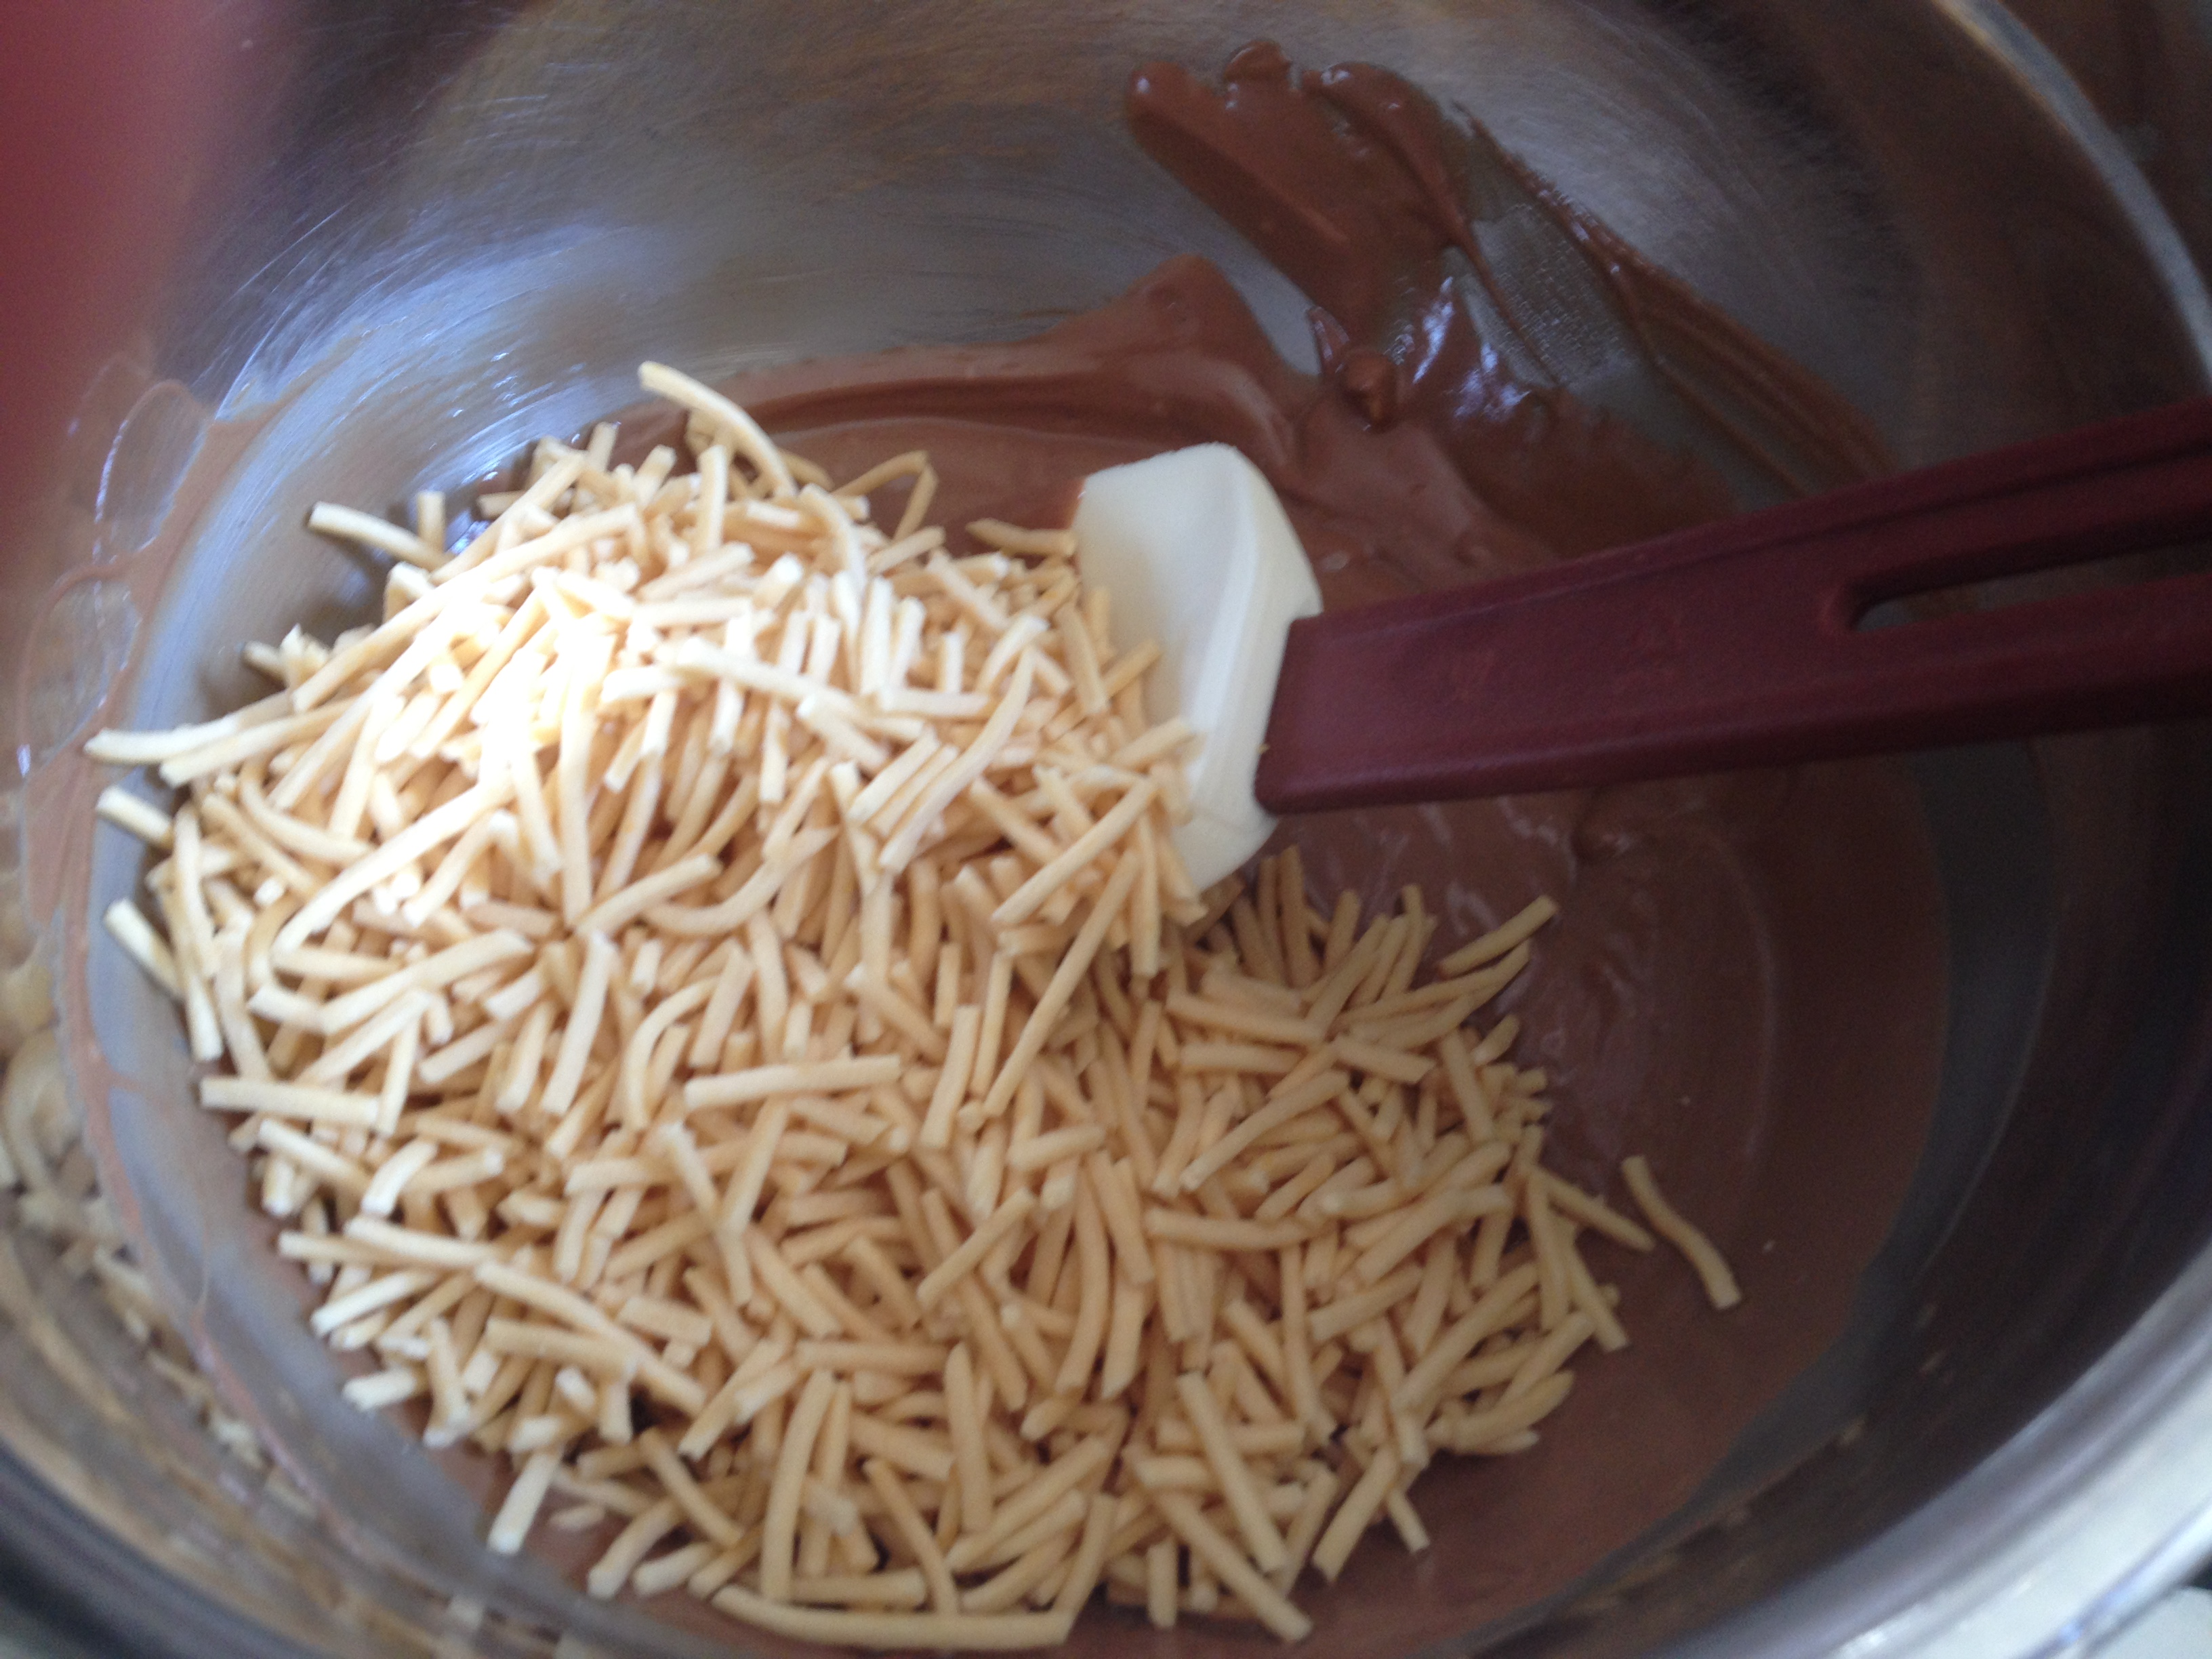
Fold in the noodles to coat, being careful not to crush them too much.

Adding the noodles
Adding the noodles
Mixing in the noodles
Mixed and ready to shape

Lay a sheet of silicone paper(GladBake or similar) on a tray and using two teaspoons place the mixture on to the paper. You can also set these in little patty cases if you like.

Lined up ready to go in the fridge

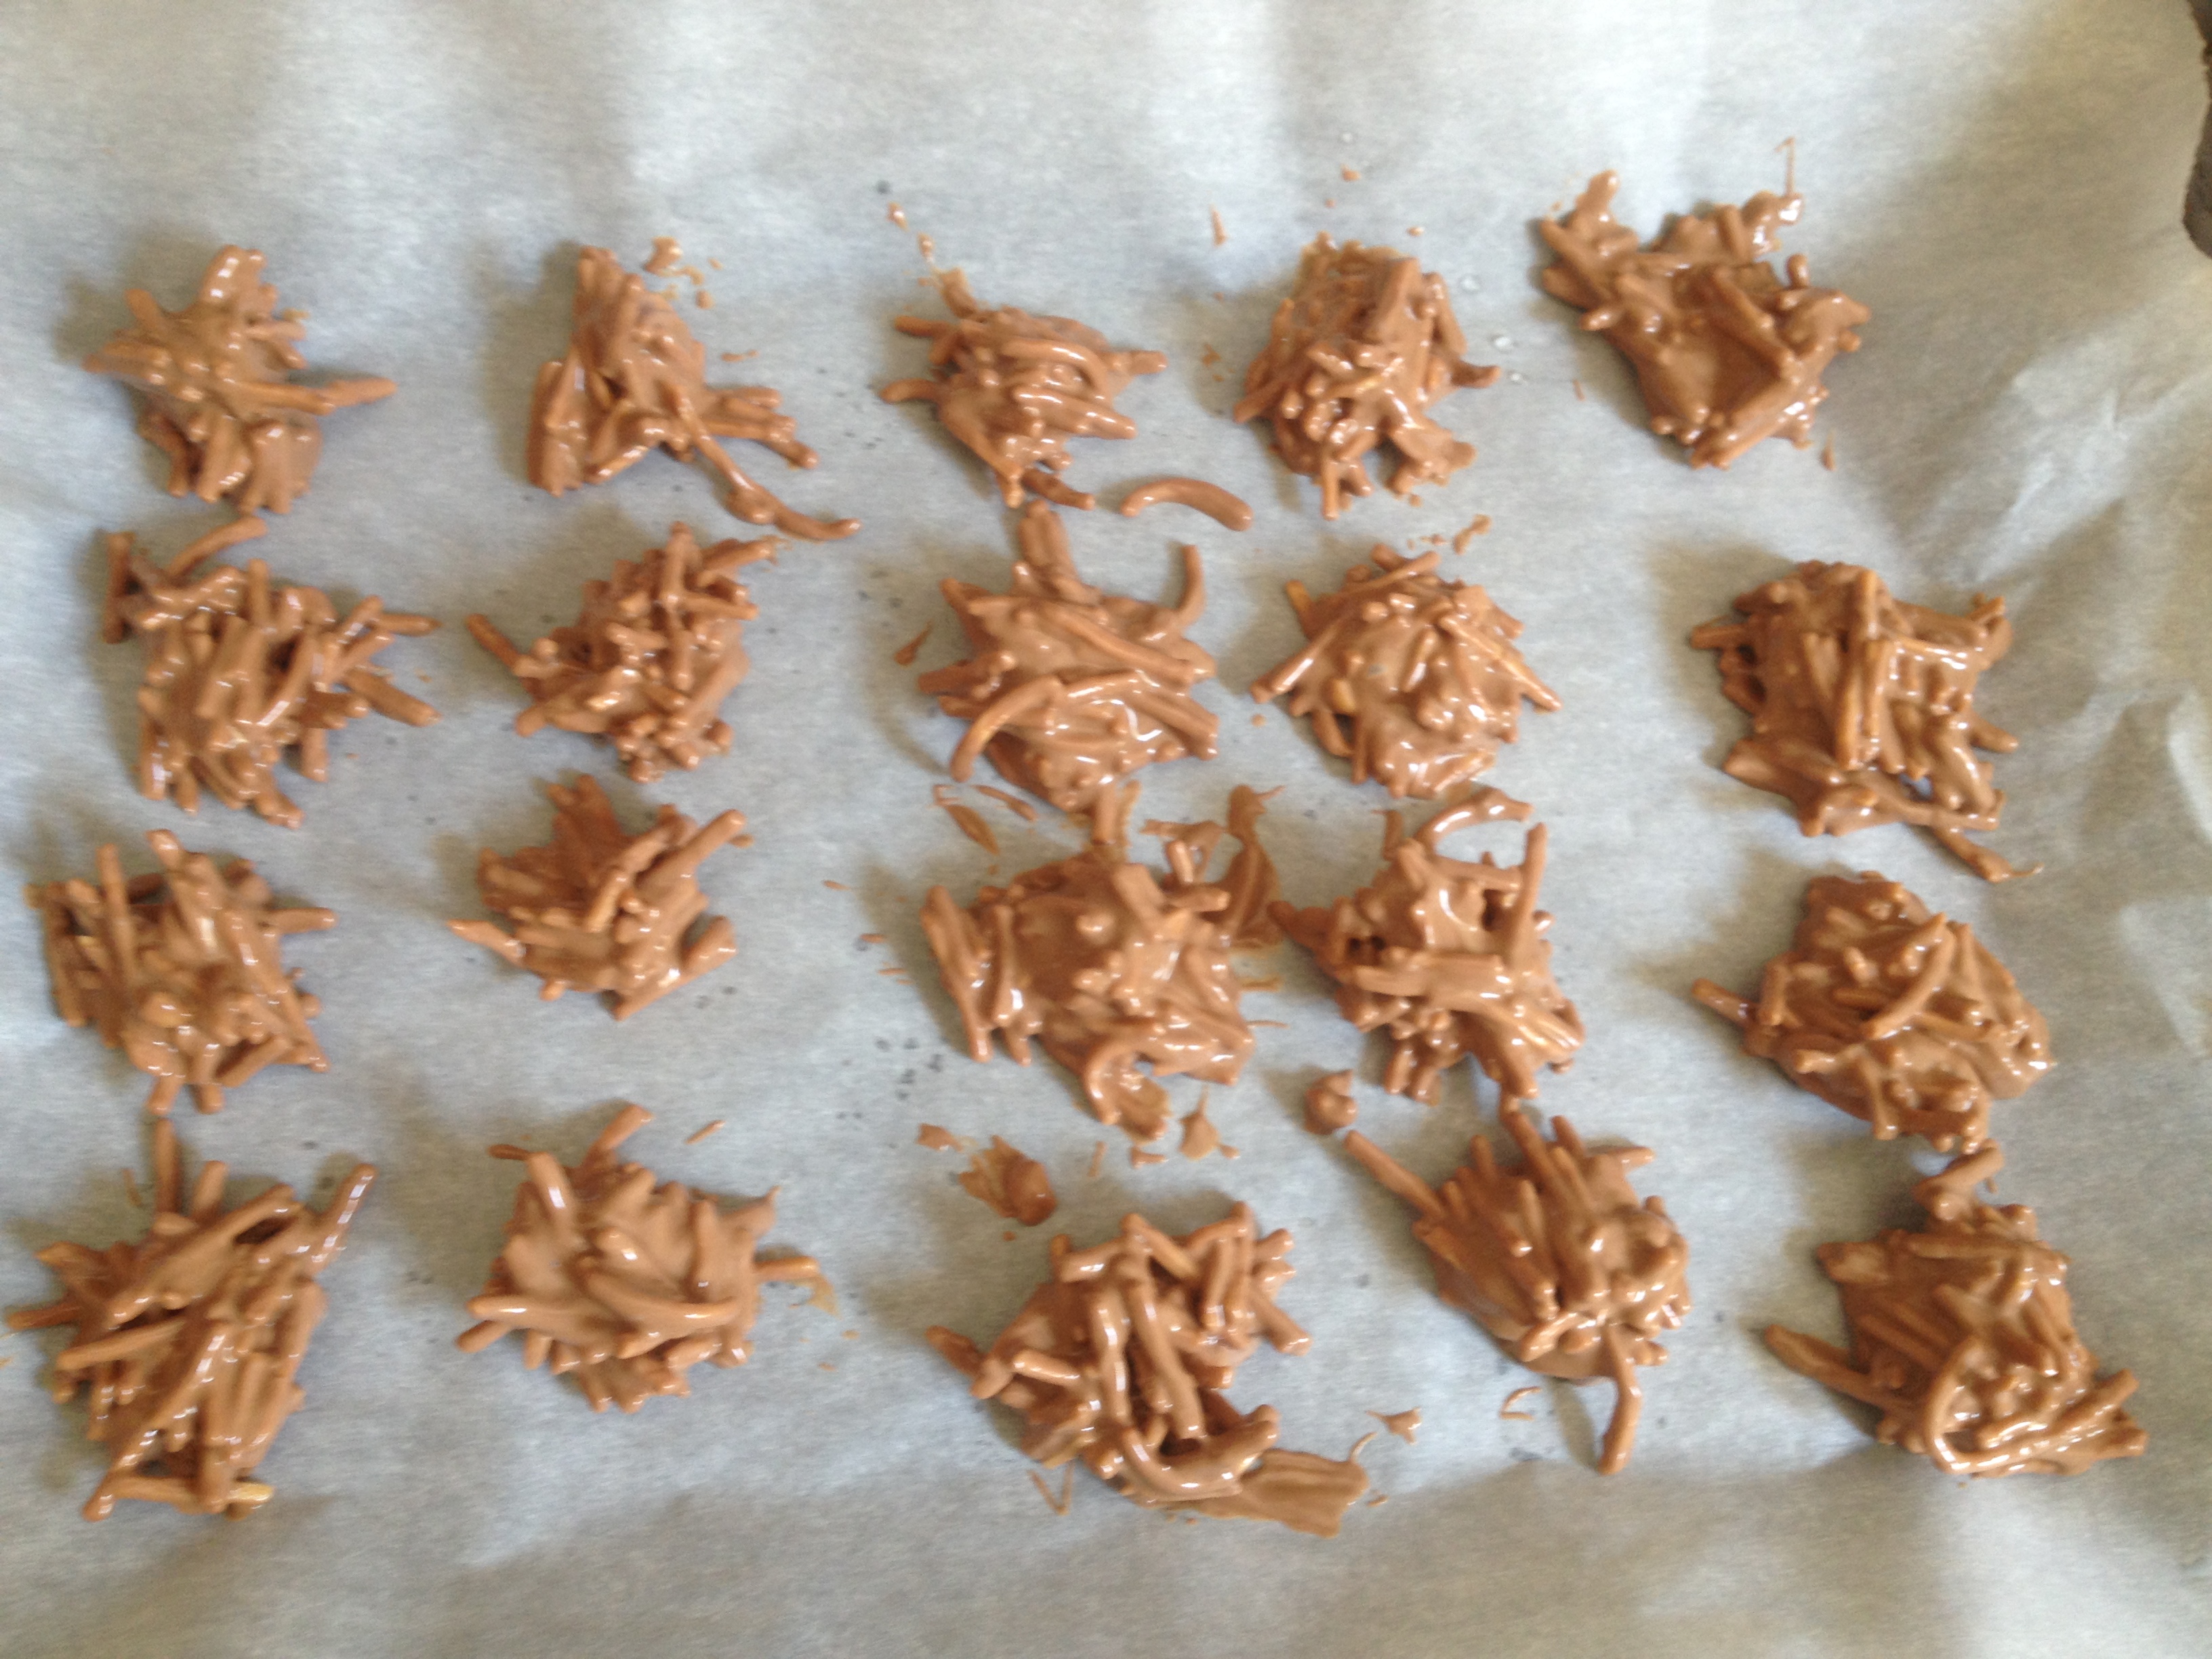
Place in refrigerator to set.

When set, ATTACK!! Just not too many at once.

Ready to eat
Ready to eat

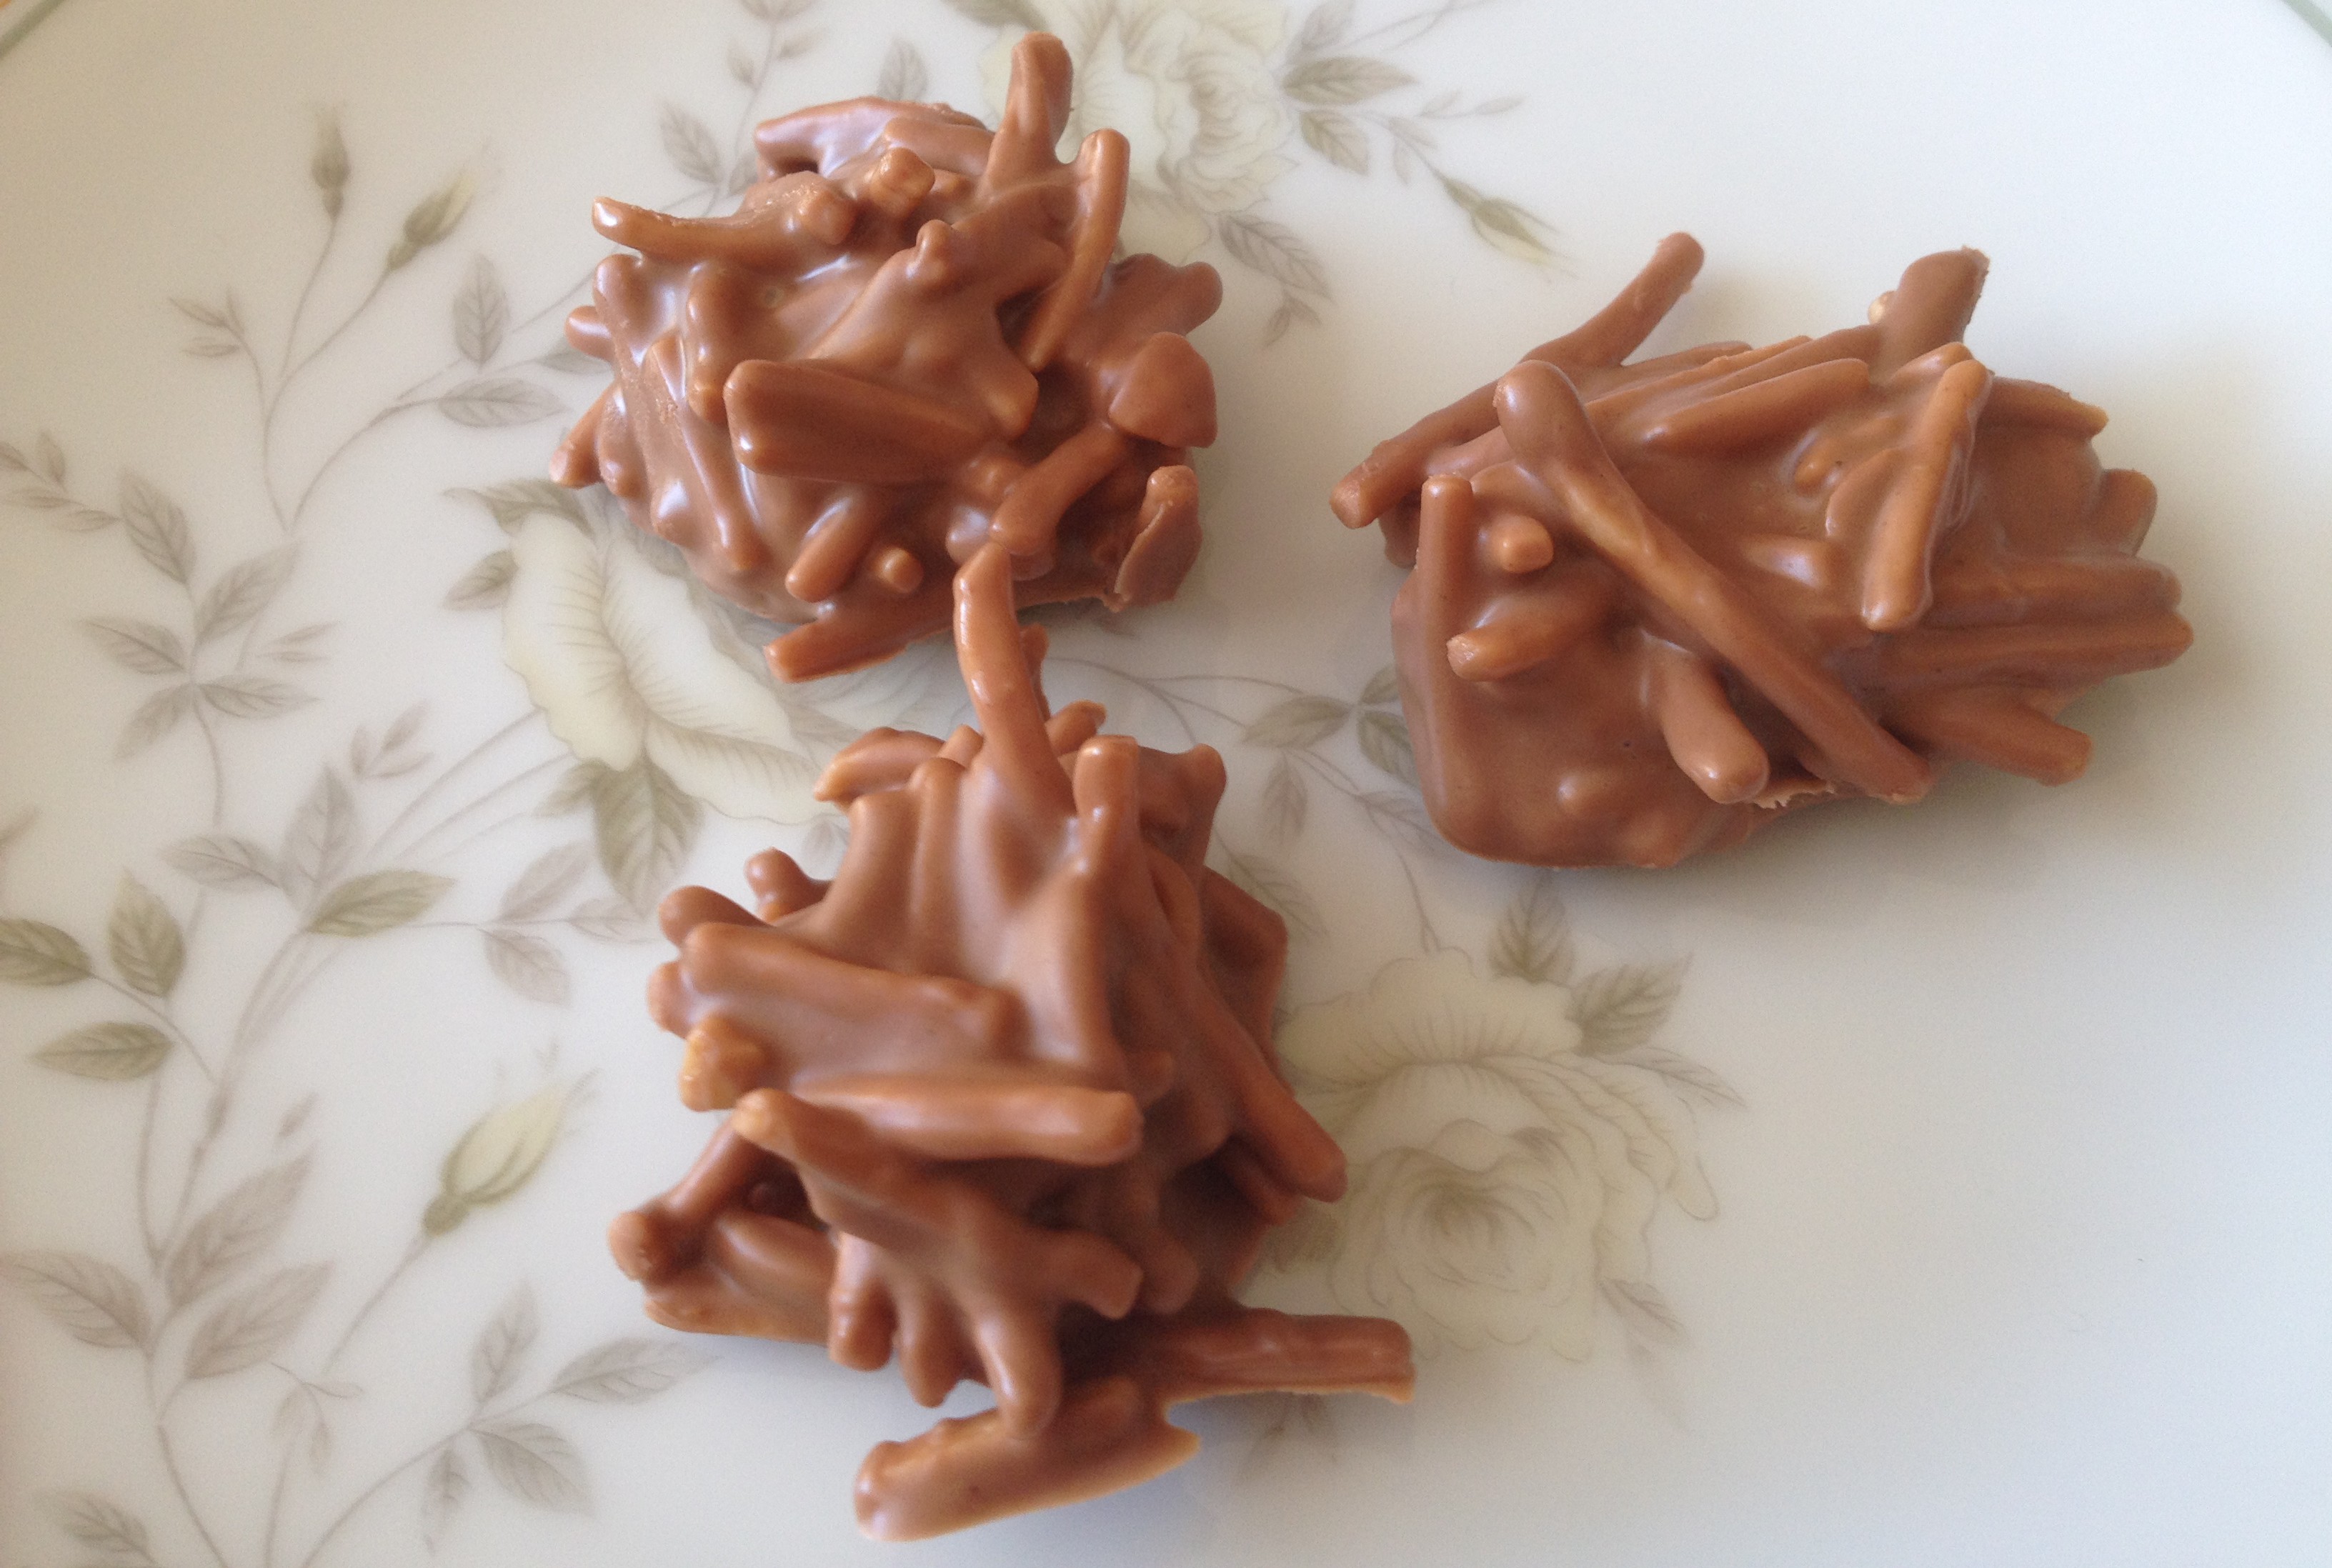
I hope you try these, especially for a Christmas treat!

Walnut Bread – Recipe Time

On our regular menu and recently used as part of a cheese board for one of our wine dinners, this walnut bread is quite easy and quick(ish) to make.

Cheese board with hous emade breads
Cheese board with house made breads

To save a bit of time kneading we mix the dough with a dough hook on the mixer and let it go for 6 to 9 minutes. Certainly saves some damage to the wrists and manicure.

(All measurements are metric and spoon measurements are Australian Standards sizing.)

WALNUT BREAD

Plain flour – 250 grams

Yeast – 2 teaspoons ( I use Lowan Instant Dried Yeast, which you can store in the freezer)

Honey – 1 ½ tablespoons

Extra Virgin olive oil – 2 tablespoons

Water (36 celsius) – 165 ml

Walnuts – 120G

Salt – pinch

Place all ingredients except walnuts in to bowl of mixer, mix on slow to combine and then turn to medium for 6 – 9 minutes. If you feel that it is too dry add a little water, if it seems too wet add a little flour.  It should form a nice ball but not be too firm.

Remove the dough from the bowl, spray  the bowl with oil spray and return the dough to the bowl, cover with a dampened cloth and leave in a warm spot. If your oven has a proving setting, take advantage of it.

While your dough is rising, break your walnuts up a bit. I just use my fingers and break them in about 6 pieces, you don’t want them too fine.

Spray a small loaf tin, ours are 21 x 5 x 5 cm. or you can free form it for a rustic look.

When the dough has doubled in size, approximately 45 minutes, turn it out on to a floured bench and knead lightly for 2 minutes and then push it in to a rectangular shape.  Lay the nuts over the dough and then roll it all up in to a sausage shape and then bring the ends into make a pile of dough again.

Now for  the hardest part, kneading with nuts. You knead for about 6 minutes by which time the nuts should be fairly well combined with the dough and not falling out. Don’t be too hard on the nuts while kneading, you don’t really want to crush them too much.

Shape the dough to fit you tin or if you are free forming, spray a heavy baking sheet with oil spray and form the dough in to a sausage shape and place on to the tray. Cover with the damp cloth and leave to rise for 45 minutes in a warm spot. If you a re free forming try to keep the cloth off the dough.

While you wait to for it to rise, have a coffee (or champagne) and  catch up on my blog.

Pre heat your oven to 170C fan forced.

I usually just give the top a quick spray with the oil spray before placing in the oven to cook for approximately 25 minutes. Should sound hollow wen tapped on the bottom if not give it a couple of minutes extra.

Place on a cooling rack to cool.

Slice to your desired thickness and serve with your favourite cheese selection. This goes really well with a nice soft cheese.

Hope you enjoy this recipe!

Blog at WordPress.com.

Up ↑